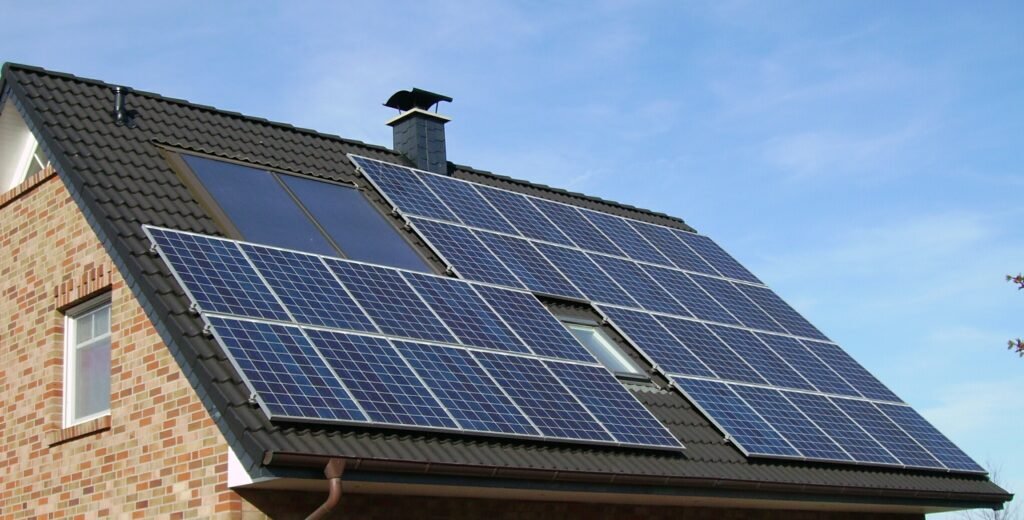
If your solar panels are not charging the battery, do not assume the panels are faulty. The problem can be caused by shade, rain or cloud cover, a switched-off PV isolator, loose or damaged wiring, an unsuitable panel-string voltage, charge-controller settings, a full battery or the battery management system (BMS).
The quickest way to narrow it down is to check what the inverter or solar charge controller can already tell you: PV voltage, PV power (watts), battery charge current, charging stage and any warning. These are different readings. PV voltage can be present while available solar power is too low to start charging; likewise, the battery may be full or charging may be limited by its BMS. This guide explains what you can safely observe and what must be tested by a qualified solar technician.
First, understand the solar charging path
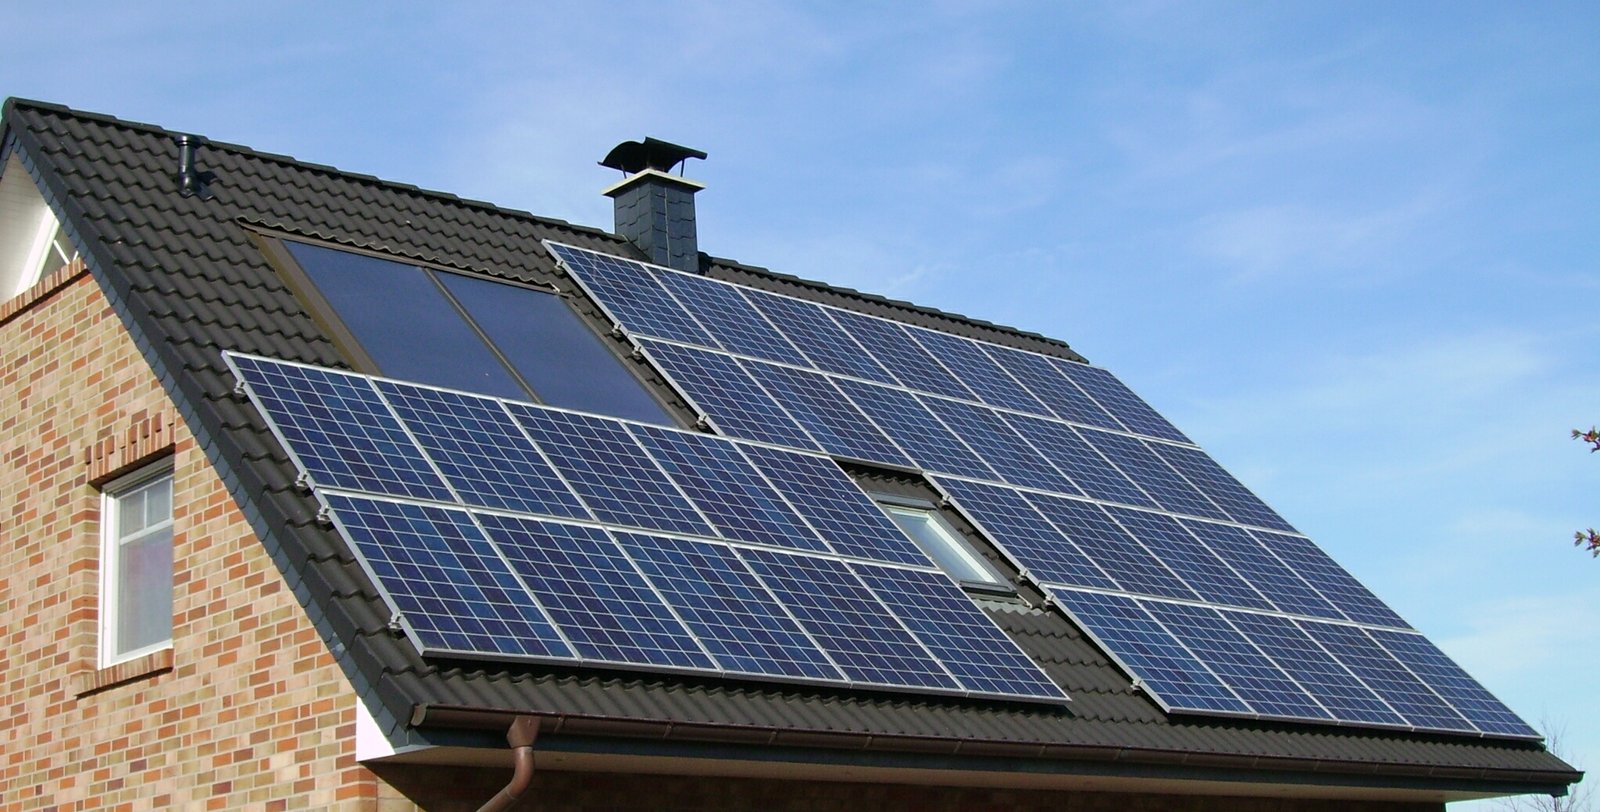
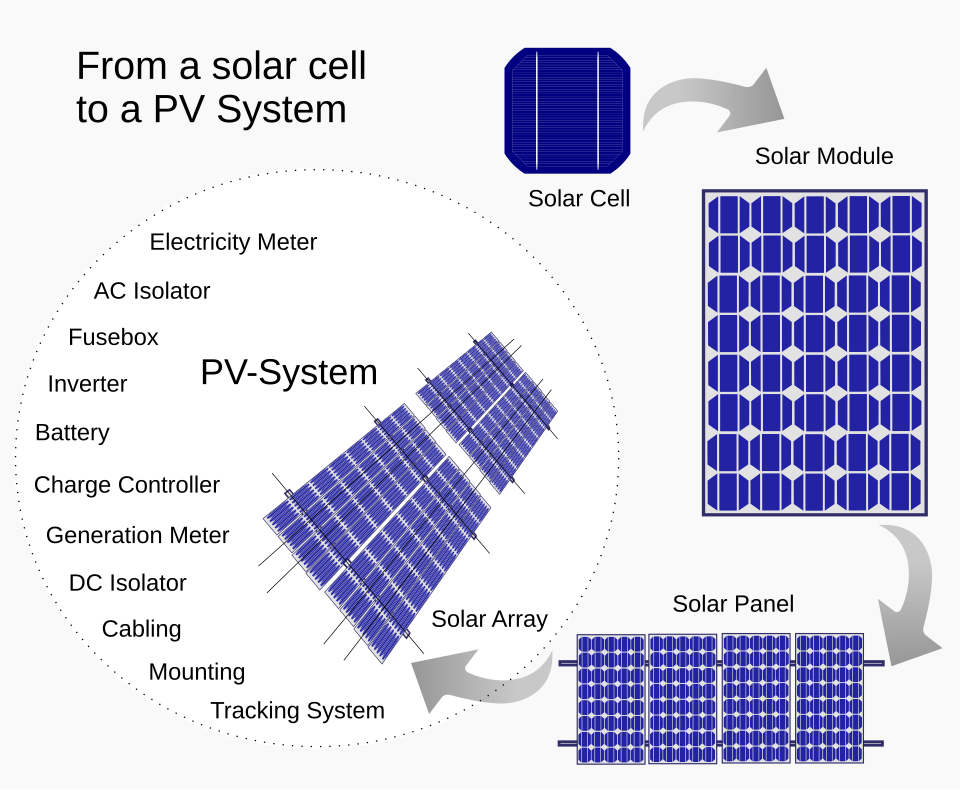
In a typical battery-based solar installation, energy follows this path: solar panels → PV cables and protection devices → inverter’s built-in MPPT or a separate charge controller → battery. A fault anywhere along this path can stop or reduce charging.
The panels do not normally connect directly to the battery. The charge controller regulates the power and charging voltage to suit the battery. If you are unsure how your system is wired, do not open it or trace live conductors yourself.
Quick checks before assuming something is faulty
| What you notice | Possible explanation | Safe first step |
|---|---|---|
| Solar watts are zero | PV isolator off, no PV detection, wiring/protection fault, shade or insufficient light | Check the display and visually inspect accessible equipment from a safe position. |
| Solar watts are low | Cloud, shade, dirt, high panel temperature, low sun angle or a system limitation | Compare readings at similar times on a clear day. |
| PV is detected but battery current is zero | Battery full, charging stage, battery setting, BMS restriction or controller fault | Check the battery state and charging stage in the display or app. |
| PV voltage appears but charging keeps stopping | PV voltage outside operating range, protection trip or intermittent connection | Record the warning and arrange a technician’s inspection. |
| Battery charges from grid but not solar | Problem may be on the PV side or solar charging configuration | Compare PV status with the exact inverter manual. |
1. There may not be enough sunlight reaching the panels
Solar output changes with sunlight. Heavy cloud, rain, early morning or late afternoon conditions can reduce panel output. In Nigeria, harmattan dust and accumulated dirt can also reduce the light reaching the cells. High panel temperature can lower output too, even when the sun is bright.
What you can do: Look at the inverter’s PV power reading during the middle of a reasonably clear day and compare it with readings from another clear day. Check visually from ground level whether branches, a new building, a water tank or another obstruction is casting shade. Do not climb onto a roof to clean or inspect panels unless you are trained and properly equipped.
A low reading during cloudy weather does not by itself prove a fault. Also remember that the panel’s advertised wattage is a laboratory rating under standard test conditions; everyday output is often lower.
2. Dirt, leaves or partial shading are reducing output
Dust, bird droppings, leaves and nearby structures can reduce the energy a panel produces. Partial shade can have a larger effect than its visible size suggests, depending on how the modules and bypass diodes are designed and how the string is wired.
From a safe location, look for obvious dirt, leaves or new shade. If cleaning is needed, use a qualified cleaning service or follow the panel maker’s cleaning instructions. Do not spray water onto hot panels, climb an unstable roof, or touch cables and connectors.
3. The PV isolator or breaker may be switched off or tripped
A solar installation may have a DC isolator, PV breaker, string fuse or other protective device between the panels and the inverter/controller. If one is off or has tripped, the controller may show no solar input.
You may visually check whether an external switch is labelled OFF or whether a protective device shows a trip indication, but do not open an electrical enclosure or repeatedly reset a device that trips again. A tripping breaker can indicate a fault that needs diagnosis. Ask the installer to identify the correct device and safe operating sequence for your exact system.
4. A cable, connector or fuse may have failed
Loose, corroded, overheated or damaged PV connectors and cables can interrupt charging or create a dangerous high-resistance connection. Rodents, weather exposure, poor crimping and water ingress can also damage wiring. A blown fuse or faulty DC breaker can leave the inverter unable to receive panel power.
Look only for visible signs from a safe distance: a hanging cable, damaged insulation, burn marks, melted plastic, water ingress or a connector that appears discoloured. Do not pull MC4 connectors apart, tighten terminals, replace fuses or handle exposed conductors. Solar strings can remain live in daylight even when the inverter is switched off.
5. The panel-string voltage may not suit the inverter’s MPPT range
This is a common design issue after adding panels, replacing an inverter or changing the way panels are connected. Every inverter or charge controller has limits for maximum PV open-circuit voltage (Voc), MPPT operating voltage and PV input current. A string with too few panels may not reach the controller’s start-up voltage. A string with too many panels can exceed the maximum input voltage and damage equipment.
Voc is not the same as the panel’s operating voltage (Vmp). The total string Voc must be calculated using the panel datasheet and the expected lowest panel temperature; it can rise when panels are cold. Parallel strings also affect current. Do not copy a panel count from another installation just because the inverter has the same kVA rating.
What to ask your installer: Request the panel model and datasheet, the string layout, calculated maximum Voc, MPPT operating range, maximum PV current and the inverter model’s exact manual. If panels were recently added or rewired, ask for the design to be checked against all PV input limits.
6. The battery may already be full or in a later charging stage
Zero or low solar charging current is not always a fault. When the battery is full, the controller may stop charging or greatly reduce current, often entering a float or maintenance stage. The display or app may show this as normal operation rather than a fault. Some lithium batteries also restrict charging when their BMS detects a condition such as low temperature or a cell-voltage limit. The exact behaviour depends on the battery and controller model.
Check the controller’s charging stage and battery state of charge in its display or monitoring app. Compare the reading with the battery manufacturer’s guidance. If the battery is already full, low current can be normal. If it is consistently undercharged despite good sunlight and the display shows no PV contribution, further diagnosis is needed.
7. Battery settings or the BMS may be preventing charging
Incorrect battery type, charging voltage, maximum charge current or lithium communication settings can stop or limit charging. A lithium battery’s BMS may temporarily prevent charging because of temperature, cell voltage, protection status or a communication/configuration issue.
Do not raise charge voltage, disable protection, change the battery protocol or bypass the BMS to force charging. Check the battery model and the settings shown in the app or display, then compare them with the battery and inverter manuals. Have the installer or manufacturer support confirm the correct settings for the exact combination of equipment.
8. Solar power may be supplying the loads before the battery receives much charge
In some hybrid systems, solar power serves active loads first, with any remaining power available to charge the battery. If the house is using most of the available solar output, battery charging can be small or may not appear to increase much. Other inverter modes may prioritise battery charging differently, so check the operating mode and power-flow display for your exact model.
For example, if the panels are producing 900W and the system is supplying 700W of loads, only the remaining power is potentially available for battery charging, before conversion losses and controller limits. This is an illustration, not a prediction for every inverter: operating priority depends on the model and settings.
Check PV power, load power and battery charge power at the same time. A battery that charges slowly while heavy appliances are running may not have a panel fault.
9. The controller may be too hot or have a fault
Some charge controllers reduce output when their temperature rises. Poor ventilation, direct sun on the inverter cabinet, dust-clogged vents or a failed fan can contribute. An internal controller fault is also possible, but it should not be the first assumption.
Keep external ventilation openings clear and note any temperature or fault warning. Do not remove covers or reach inside the inverter. If the unit is unusually hot, smells burnt, makes crackling sounds or repeatedly shuts down, stop using it if you can do so safely and contact a qualified technician.
10. How to narrow down the fault without touching live wiring
- Record the inverter and charge-controller make and exact model number.
- Check the screen or monitoring app for PV voltage, PV watts, battery voltage, charge current, charging stage and any warning code.
- Note the time, weather and whether the panels are visibly shaded.
- Record whether the battery is also receiving charge from grid or generator input.
- Write down any recent changes, such as new panels, rewiring, battery replacement, inverter settings changes or storm damage.
- Send the readings and photographs of the external display (not exposed terminals) to the installer or manufacturer support.
These observations help a technician distinguish a sunlight problem, a PV-side interruption, a battery restriction or a controller fault without asking you to carry out hazardous measurements.
How to interpret the readings on the inverter display
| Display reading | What it tells you | What it does not prove |
|---|---|---|
| PV voltage (V) | The controller detects an electrical potential at its PV input. | It does not prove that the array can deliver enough current or power to charge. |
| PV power (W) | The approximate power being harvested from the array at that moment. | It does not all have to go into the battery; household loads and conversion limits matter. |
| Battery charge current (A) | The current flowing into the battery, subject to the display’s measurement point. | A low value is not automatically a fault if the battery is full or the BMS limits charging. |
| Charging stage/status | Whether the controller reports bulk, absorption, float, standby or a model-specific status. | Stage names and behaviour differ by manufacturer and battery configuration. |
For example, Victron explains that some of its MPPT chargers need PV voltage to exceed battery voltage by a defined margin before charging starts. That threshold is model-specific; do not apply Victron’s figures to another brand. Use the exact controller manual. Its troubleshooting guide also lists insufficient PV power, a full battery, disabled settings, BMS control and low lithium battery temperature among possible reasons a charger may be off. Read the Victron SmartSolar MPPT troubleshooting manual.
What a qualified solar technician should test
Depending on the equipment and fault symptoms, a technician may need to verify PV string polarity, open-circuit voltage, operating voltage and current, insulation condition, protective devices, connector condition, battery-side voltage drop, charge-controller settings and BMS communication. The technician should use correctly rated instruments and follow the manufacturer’s shutdown and isolation sequence.
Do not measure PV voltage yourself unless you are trained and equipped for the system’s maximum DC voltage. Some PV arrays operate above 50V DC, which can be dangerous. Never disconnect PV connectors under load.
When to stop and call an installer immediately
- You see smoke, sparks, melted connectors or burn marks.
- You hear crackling or smell burning plastic.
- A breaker or fuse repeatedly trips.
- Cables or connectors are exposed, damaged or wet.
- The inverter reports PV over-voltage, insulation or ground-fault warnings.
- The equipment is unusually hot or has suffered storm or water damage.
Keep people away from damaged equipment. Do not touch the panels, wiring or inverter internals. If there is an active fire or immediate danger, move away and contact emergency services.
Frequently asked questions
Why are my solar panels showing voltage but not charging the battery?
Voltage detection alone does not prove that usable charging power is reaching the battery. The battery may be full, the controller may be in a later charging stage, the PV voltage may be outside its operating range, a protection device may be open, or battery settings/BMS protection may be limiting charge. Check the controller’s charging stage and warnings, then have the PV and battery circuits tested if the issue persists.
Can cloudy weather stop solar panels from charging?
Clouds reduce solar irradiance and can lower charging power considerably, but they do not always stop charging completely. Whether the battery receives current depends on the remaining PV output, controller start-up requirements, active loads and battery condition.
Can dirty solar panels stop battery charging?
Heavy dirt or bird droppings can reduce output, but a complete loss of charging may point to another issue as well. Check for other symptoms and arrange safe cleaning; do not climb onto the roof or handle PV wiring.
Why does my inverter show PV voltage but zero charging amps?
The battery may be full, charging may be disabled or limited by settings, the BMS may be preventing charge, or the controller may have a fault. Compare the battery state of charge, charging stage and PV power rather than relying on voltage alone.
Can I connect more solar panels to make the battery charge faster?
Not without checking the inverter’s maximum PV voltage, MPPT range, input current and permitted array power. Adding panels incorrectly can exceed the inverter’s limits and cause damage. Ask a qualified installer to calculate the string design from the panel and inverter datasheets.
Should I switch off the inverter when the solar panels are not charging?
Do not use a generic shutdown sequence. Hybrid inverters and separate charge controllers can require a specific order for isolating PV, battery and AC sources. Follow the exact model manual or ask the installer; do not disconnect PV plugs while current is flowing.
How do I know whether the solar panel or inverter is faulty?
Readings from the inverter alone may not identify the failed component. A technician needs to compare PV-side measurements, controller operation and battery-side measurements with the equipment specifications. Avoid replacing panels or the inverter based only on a zero-amp display.
Related solar troubleshooting guides
- Solar Inverter Not Charging Battery? Causes and How to Fix It Safely
- Inverter Battery Draining Fast? Causes and How to Find the Problem
- Solar Inverter Beeping and Showing an Error Code? What to Check First
- Solar Inverter Setup Cost in Nigeria for 2- and 3-Bedroom Flats
Sources and further reading
- Victron Energy: SmartSolar MPPT troubleshooting manual — PV voltage, insufficient input power, BMS control, battery-full behaviour and safety warnings.
- Renogy: Solar charge controller troubleshooting guide — PV/battery checks, charging stages and safe diagnosis.
- Victron Energy: MPPT calculator — check PV string sizing against controller limits.
Safety note: This guide is for observation and fault identification, not live electrical repair. PV arrays can remain energised whenever illuminated. Follow the exact equipment manuals and use a qualified solar professional for electrical testing, isolation, wiring and repairs.

Oladepo Babatunde (also known as Prince Babatee Tunde) is a Computer Scientist, researcher, professional content writer and SEO content strategist with more than eight years of experience. He holds a Higher National Diploma (HND) in Computer Science from Kwara State Polytechnic, Nigeria, and is based in Ilorin, Kwara State. As a freelance writer, he creates research-led, practical content on technology, Nigerian internet services, AI tools, gadgets and solar power. His work combines research, source checking, technical understanding and SEO strategy. Where an article includes hands-on testing, the product, method and relevant conditions are described in the article; research-based guides are identified as such.